
Yesterday, I utilized Vagrant to deploy three VMs on my laptop through VMware Fusion. Now, I’m gearing up to configure a Kubernetes cluster for testing and study purposes—ideal for when I’m on the move or when my primary lab isn’t accessible.
With these VMs in place, I’ll designate one as the master node and the remaining two as workers. Following standard Kubernetes setup procedures, I’ll initialize the master node, join the workers, and it will be ready to begin deploying and testing applications within this simulated cluster environment.
Vagrant’s convenience lies in its ability to swiftly recreate these VMs and experiment with diverse configurations without impacting my primary setup. This flexibility proves invaluable for testing and learning experiences.
Before starting the configuration it’s advised to always check the requisites:
https://kubernetes.io/docs/setup/production-environment/tools/kubeadm/install-kubeadm/
Important disable swap on all nodes:
## note that this is temporary and when you reboot the machine it will use swap again
swapoff -a
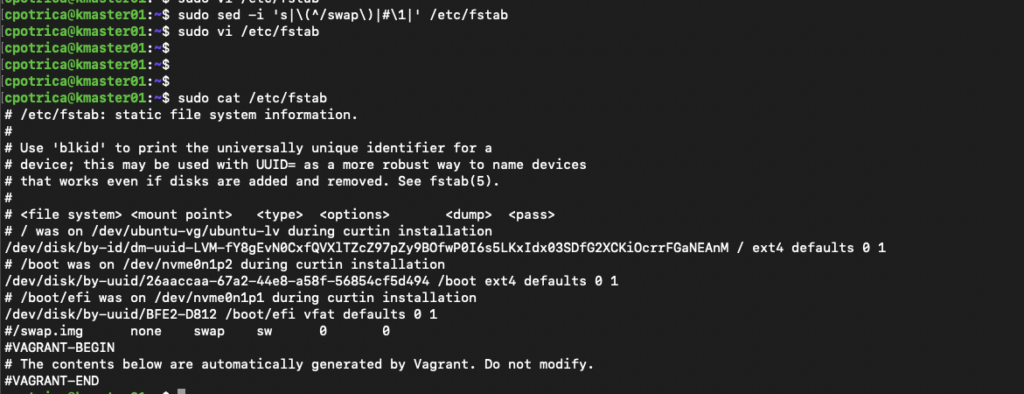
# in my case i know that the swap in /etc/fstab starts with /swap.img
sudo sed -i 's|\(^/swap\)|#\1|' /etc/fstab
# i run this sed to add a # before the /swap you can allways
sudo vi /etc/fstab and disable swap mount on boot
After validating the requisites, let’s deploy the container runtime with more detailed info in:
https://kubernetes.io/docs/setup/production-environment/container-runtimes
In my case, I will deploy containerd but there are more container runtimes you can choose check the link above if you don’t want to use containerd.
ON ALL NODES !!!
Modules and filters:
cat <<EOF | sudo tee /etc/modules-load.d/k8s.conf
overlay
br_netfilter
EOF

sudo modprobe overlay
sudo modprobe br_netfilter

# sysctl params required by setup, params persist across reboots

cat <<EOF | sudo tee /etc/sysctl.d/k8s.conf
net.bridge.bridge-nf-call-iptables  = 1
net.bridge.bridge-nf-call-ip6tables = 1
net.ipv4.ip_forward                 = 1
EOF

# Apply sysctl params without reboot
sudo sysctl --system
check if modules are loaded:
lsmod |grep br_netfilter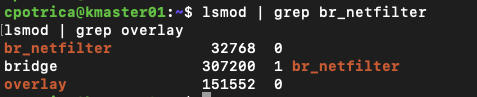
Let’s also check if the filters are set to 1
sysctl net.bridge.bridge-nf-call-iptables net.bridge.bridge-nf-call-ip6tables net.ipv4.ip_forward

Install containerd from docker Repo:
https://docs.docker.com/engine/install/ubuntu/
ON ALL NODES !!!
sudo apt-get update
sudo apt-get install ca-certificates curl gnupg
sudo install -m 0755 -d /etc/apt/keyrings
curl -fsSL https://download.docker.com/linux/ubuntu/gpg | sudo gpg --dearmor -o /etc/apt/keyrings/docker.gpg
sudo chmod a+r /etc/apt/keyrings/docker.gpg

# Add the repository to Apt sources:
echo \
  "deb [arch=$(dpkg --print-architecture) signed-by=/etc/apt/keyrings/docker.gpg] https://download.docker.com/linux/ubuntu \
  $(. /etc/os-release && echo "$VERSION_CODENAME") stable" | \
  sudo tee /etc/apt/sources.list.d/docker.list > /dev/null
sudo apt-get update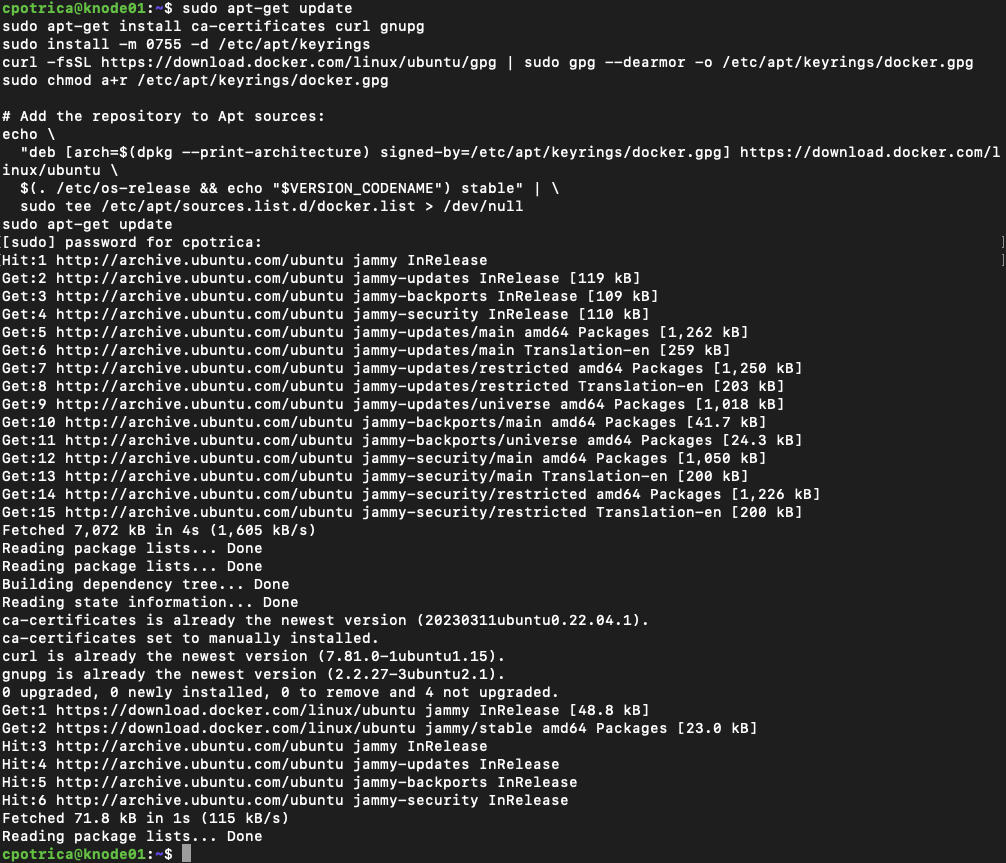
now install containerd (on all nodes :))
sudo apt-get install containerd.io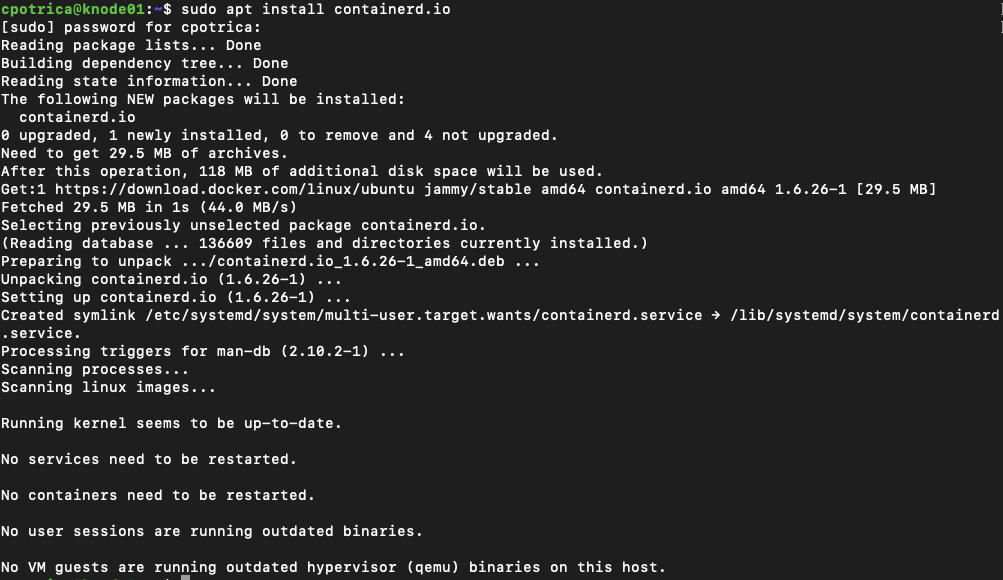
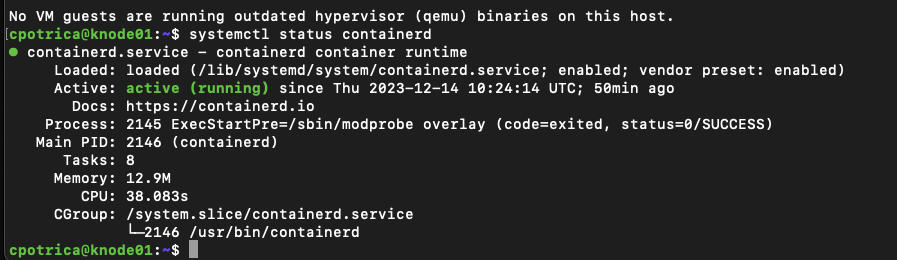
Let’s check if it’s running and installed
systemctl status containerdGuess what? ON ALL NODES 🙂
we are using Ubuntu and if you run:
ps -p 1You will see that Ubuntu is running Systemd
When systemd is chosen as the init system for a Linux distribution, the init process generates and consumes a root control group (cgroup) and acts as a cgroup manager.
systemd has a tight integration with cgroups and allocates a cgroup per systemd unit. As a result, if you use systemd as the init system with the cgroupfs driver, the system gets two different cgroup managers.
Two cgroup managers result in two views of the available and in-use resources in the system. In some cases, nodes that are configured to use cgroupfs for the kubelet and container runtime, but use systemd for the rest of the processes become unstable under resource pressure.
To play safe just run this on all nodes
sudo containerd config default | sudo tee /etc/containerd/config.toml

sudo sudo sed -i 's/SystemdCgroup \= false/SystemdCgroup \= true/g' /etc/containerd/config.toml

sudo systemctl restart containerd

sudo systemctl status containerd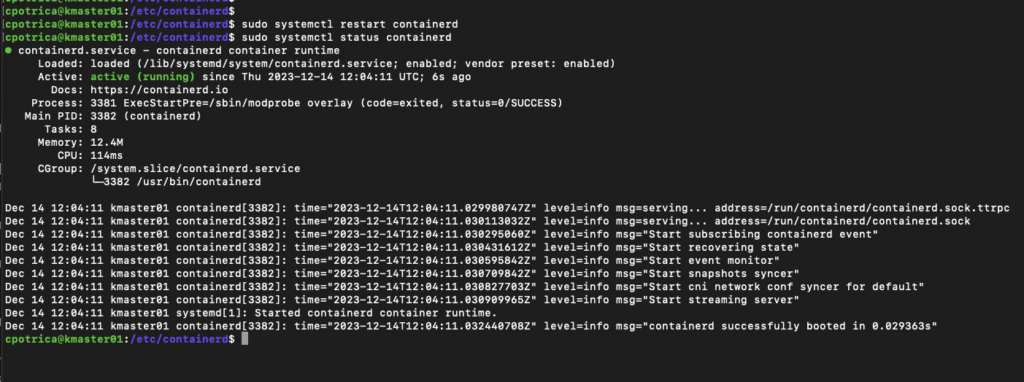
Ok at this time the container runtime is ready
On ALL NODES 🙂
sudo apt-get update
sudo apt-get install -y apt-transport-https ca-certificates curl gpg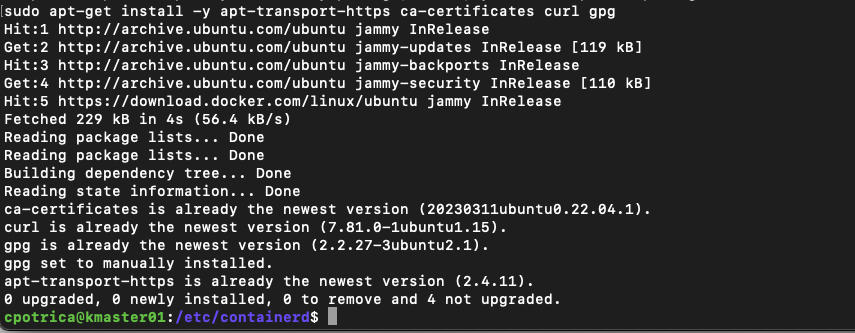
curl -fsSL https://pkgs.k8s.io/core:/stable:/v1.29/deb/Release.key | sudo gpg --dearmor -o /etc/apt/keyrings/kubernetes-apt-keyring.gpg

#and

echo 'deb [signed-by=/etc/apt/keyrings/kubernetes-apt-keyring.gpg] https://pkgs.k8s.io/core:/stable:/v1.29/deb/ /' | sudo tee /etc/apt/sources.list.d/kubernetes.list
Install kubelet , kubeadm and kubectl
sudo apt-get update
sudo apt-get install -y kubelet kubeadm kubectl
sudo apt-mark hold kubelet kubeadm kubectl
Now let’s start the cluster configuration:
##just on the Masternode

sudo kubeadm init --pod-network-cidr=10.210.0.0/16 --apiserver-advertise-address=192.168.0.235

### in my case i wanted to use the IPS : 192.168.0.x for kubernetes  192.168.0.235 it's the kmaster01 ip aka master node they where defined on Vagrantfile on the past post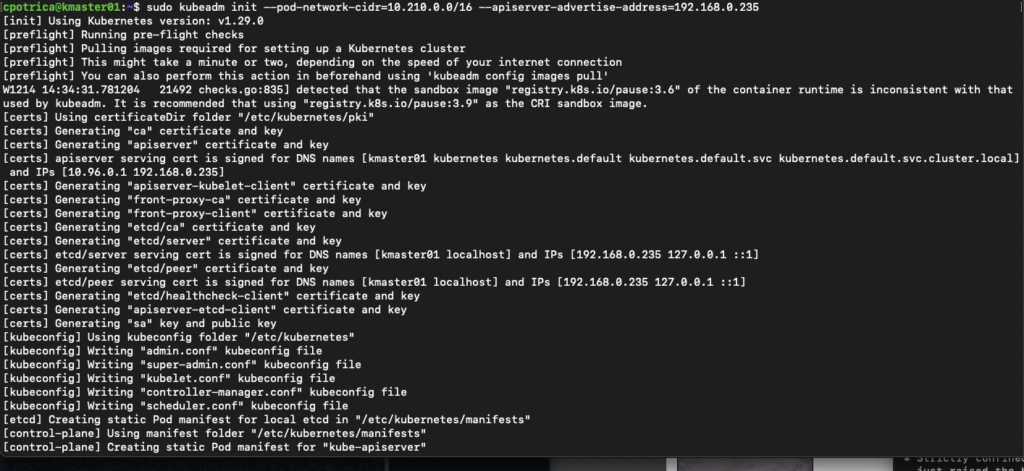
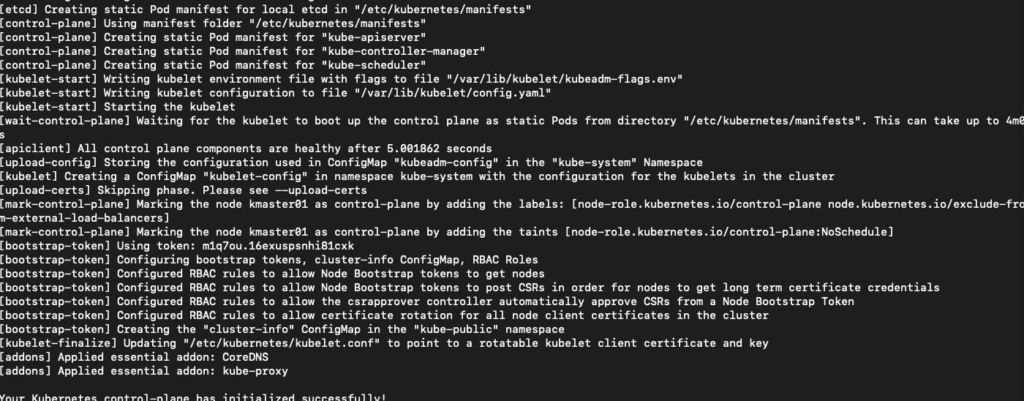
Note that is important to copy the kubeadm join text and save it on a file because we are going to use it later to join the nodes.
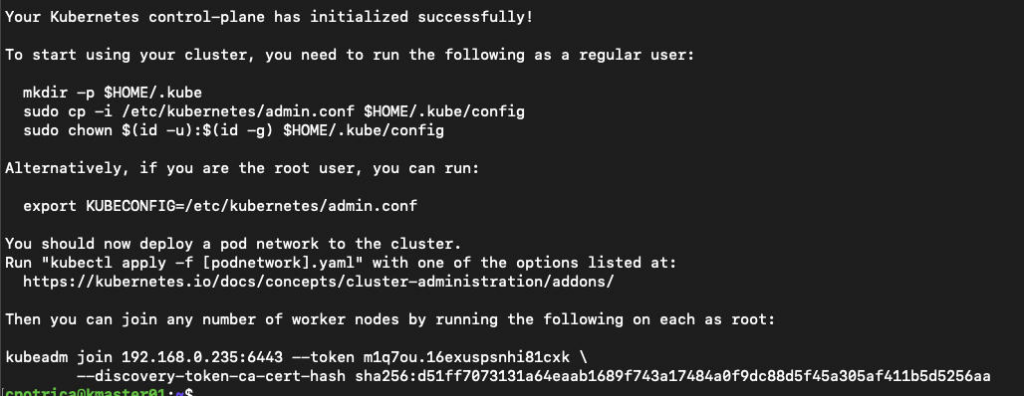
Let’s run the instructions on the Screen
mkdir -p $HOME/.kube
sudo cp -i /etc/kubernetes/admin.conf $HOME/.kube/config
sudo chown $(id -u):$(id -g) $HOME/.kube/config

##i have run this with my user cpotrica
Now let’s setup the CNI for Pod networking there are lots of solutions here is a list:
https://kubernetes.io/docs/concepts/cluster-administration/addons/
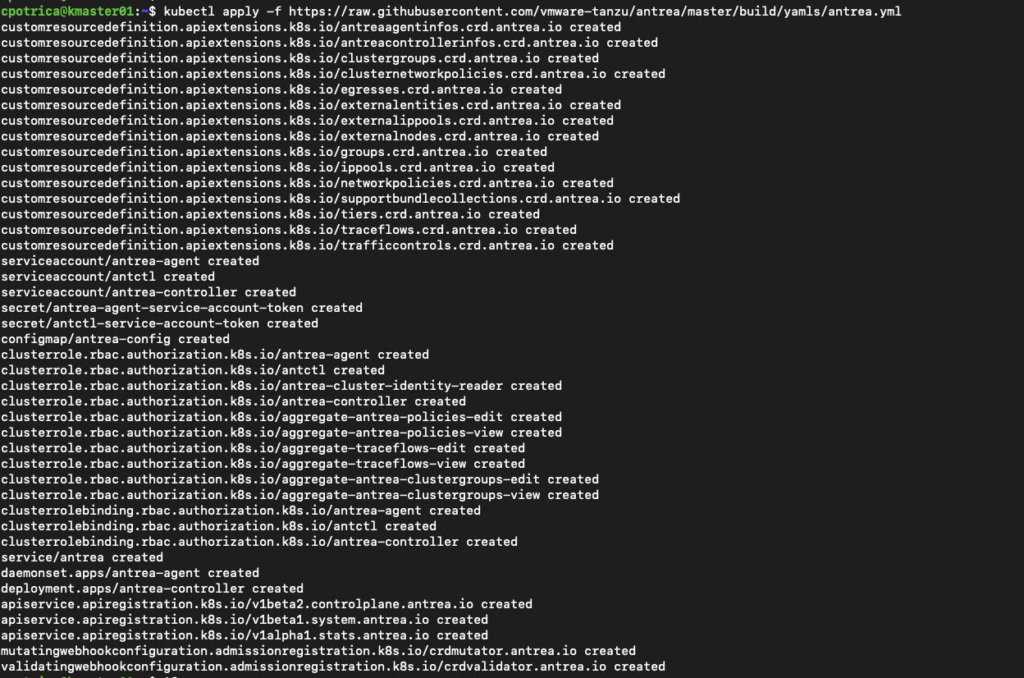
I’m going to use Antrea (I Wonder why 🙂 )
kubectl apply -f https://raw.githubusercontent.com/vmware-tanzu/antrea/master/build/yamls/antrea.yml
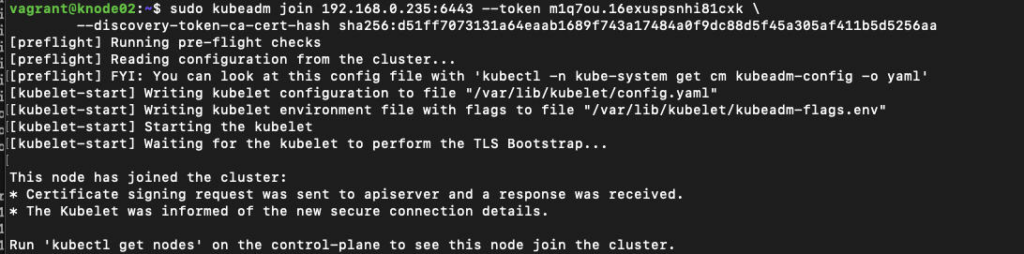
Let’s Join the Nodes:
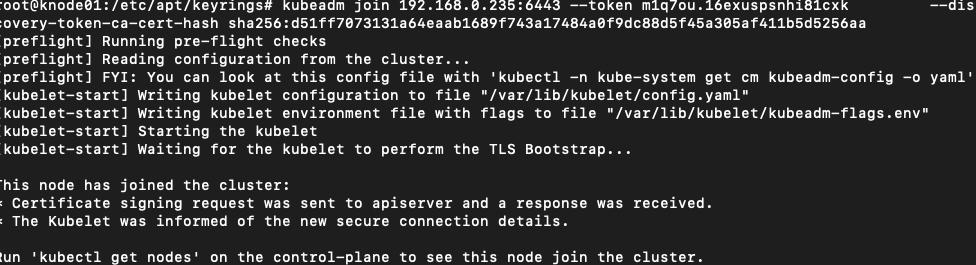
# @ knode01 and knode02

kubeadm join 192.168.0.235:6443 --token m1q7ou.16exuspsnhi81cxk \

--discovery-token-ca-cert-hash sha256:d51ff7073131a64eaab1689f743a17484a0f9dc88d5f45a305af411b5d5256aa

## note that this will be the information after you kubeadm init not mine.
knode01
knode02
On master node “kmaster01”
kubectl get nodes 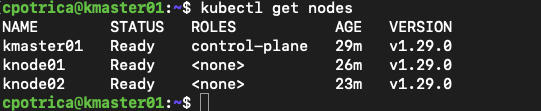
you will see knode01 and knode02 as workers
Let’s check on the master node the system pods running
kubectl get pod -o wide -A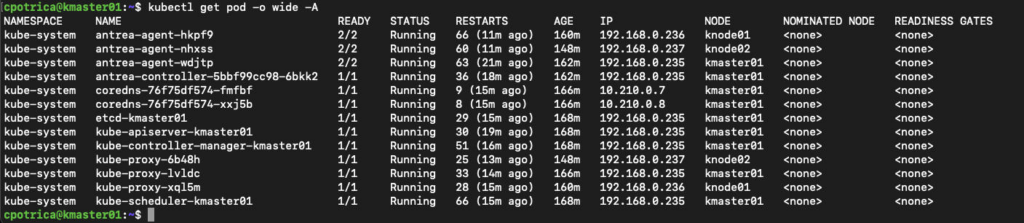
Now let’s create a small pod just to test
kubectl run nginx --image=nginx

#create the an nginx pod just for testing

#check if its available and running

kubectl get pod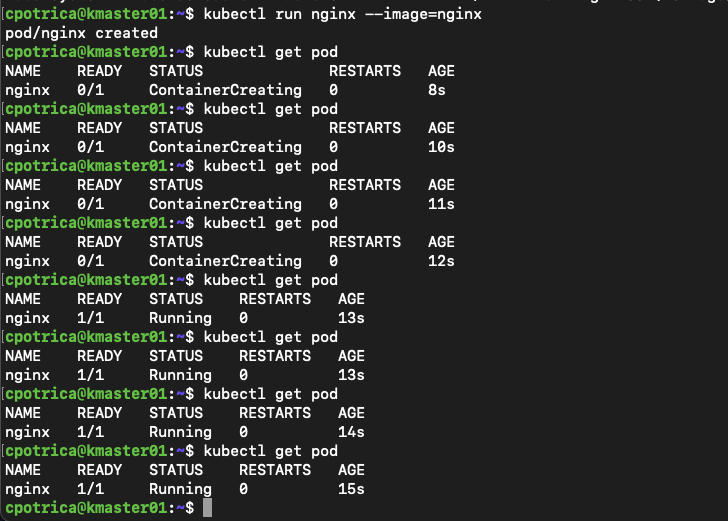
At this point, we have a running Kubernetes cluster on the Vagrant box we created before !!
Shortly, I plan to delve deeper into this cluster setup. My upcoming posts will explore more advanced topics, such as implementing a load balancer, orchestrating deployments, and diving into other intricate functionalities.
HF !!!