
When I’m on the go and need to test, study, or swiftly showcase a solution to a client while traveling, I rely on VMware Fusion on my MacBook.
Recently, I found myself setting up Linux VMs to build a Kubernetes cluster for my testing purposes. As usual, creating multiple VMs can be time-consuming. Seeking a robust yet user-friendly way to automate this process on my laptop, I explored Vagrant by HashiCorp.
Vagrant boxes serve as ready-made environments for development purposes, bundling all the necessary components and configurations required to set up a virtual machine swiftly. Picture them as templates or molds for your virtual machines, streamlining the setup process across platforms like VMware, VirtualBox, or Hyper-V.
These boxes are a time-saver, eliminating the manual installation and configuration of operating systems and software. With Vagrant, deploying VMs becomes automated. Additionally, there’s a repository—curated by HashiCorp and the community—that houses a plethora of Vagrant boxes, akin to Docker hub’s collection of containers. This repository simplifies the search for specific boxes tailored to your infrastructure needs.
Numerous Linux Vagrant boxes are available, contributed by the community. These encompass open-source distributions such as Ubuntu, CentOS, and Fedora, among others. Surprisingly, there are also Windows Vagrant boxes. Each box comes with detailed descriptions and documentation, aiding users in selecting the ideal one for their requirements.
Deciphering the Vagrantfile, written in Ruby, is crucial. It furnishes directives on how to establish and manage individual virtual machine environments. Furthermore, running the ‘vagrant init’ command generates the Vagrantfile, kickstarting the configuration process for you.
After diving into the Vagrantfile, I’ve crafted what I believe is a solution that can streamline the creation of multiple boxes for your needs.
Specifically, I’ve tailored it for a scenario where one VM operates as the Kubernetes Master while two other VMs function as Workers. This setup aims to cater to your use case efficiently.
But first the basics:
I already had homebrew installed on my MAC but assuming you don’t have it
Just run on your terminal:
/bin/bash -c "$(curl -fsSL https://raw.githubusercontent.com/Homebrew/install/HEAD/install.sh)"for more information about homebrew:
And now Vagrant installation:
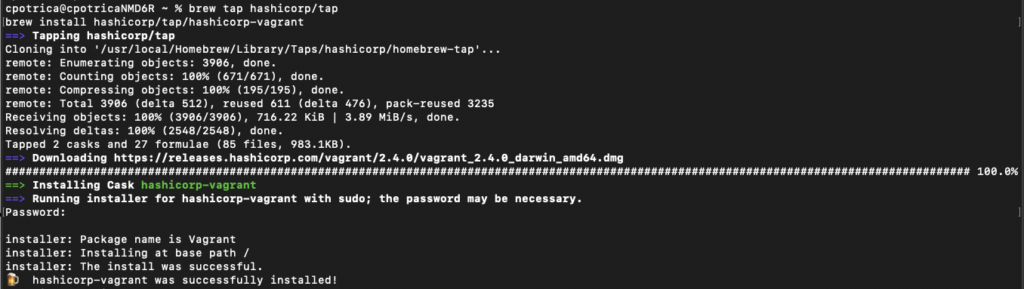
brew tap hashicorp/tap
brew install hashicorp/tap/hashicorp-vagrant
The output should be similar to the image below:
Now since we are going to use Vagrant with a VMware product we will need to install a plugin for it:
brew install --cask vagrant-vmware-utility
vagrant plugin install vagrant-vmware-desktop
Then you can run:
vagrant init 
It will generate a Vagrantfile from scratch that I didn’t use because I wanted something customized for my needs.
in the site https://app.vagrantup.com/boxes/search
I looked for an image with Ubuntu server for me to use as BOX for my Linux projects
And I picked this one:
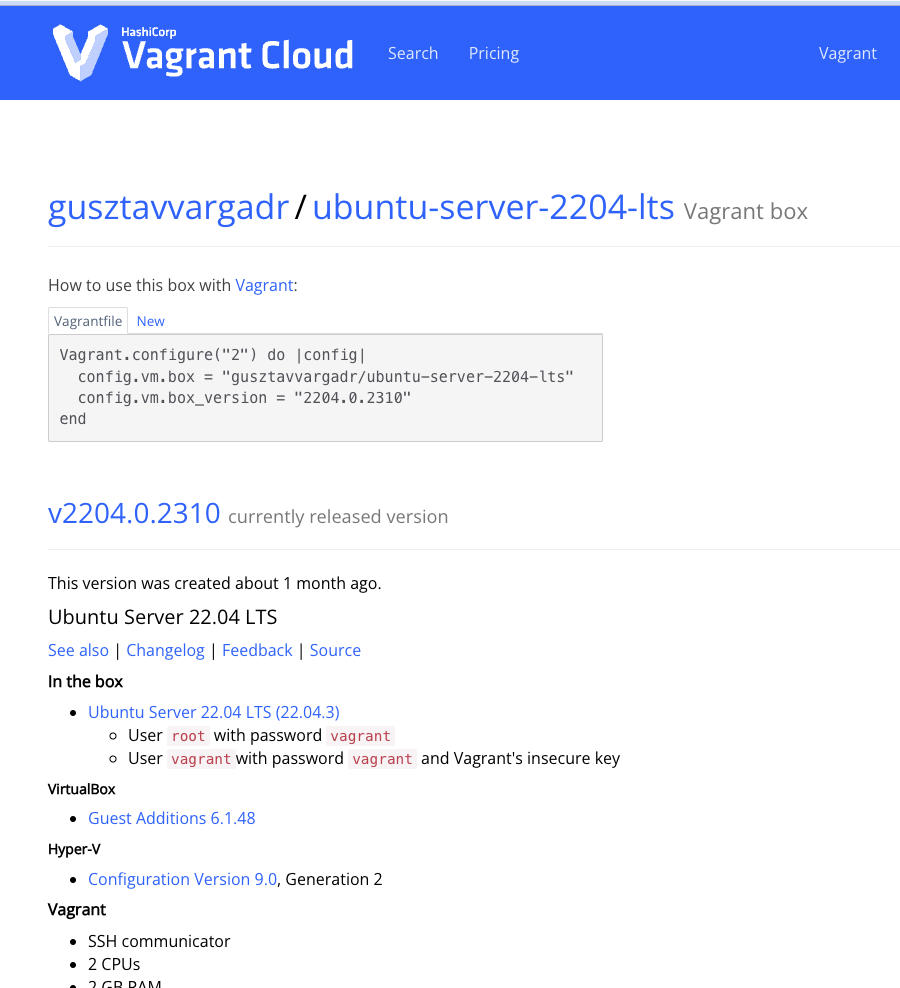
Note that we will only use the config.vm.box = “gusztavvargadr/ubuntu-server-2204-lts”
As I said created a customized Vagrantfile to create 3 Boxes with a specific setup:
You can copy and paste the information below to a new Vagrantfie and change whatever you need
# -*- mode: ruby -*-
# vi: set ft=ruby :

nodes = {
    'kmaster01'	=> [1, 235],
    'knode01'  => [1, 236],
    'knode02'  => [1, 237],
}

Vagrant.configure("2") do |config|
    config.vm.box = "gusztavvargadr/ubuntu-server-2204-lts"
    nodes.each do |prefix, (count, ip_start)|
        count.times do |i|
            hostname = "%s" % [prefix, (i+1)]
            config.vm.define "#{hostname}" do |box|
                box.vm.hostname = "#{hostname}.book"
                box.vm.network :private_network, ip: "192.168.0.#{ip_start+i}", :netmask => "255.255.255.0"
                #box.vm.network :private_network, ip: "10.10.0.#{ip_start+i}", :netmask => "255.255.0.0"
                # VMware Fusion
                box.vm.provider :vmware_fusion do |v|
        v.ssh_info_public = true
        v.gui = true
        v.linked_clone = false
        v.vmx["ethernet0.virtualdev"] = "vmxnet3"
        v.vmx["ethernet1.virtualdev"] = "vmxnet3"
   	v.vmx['mks.enable3d'] = true                        # enable 3D acceleration
        v.vmx['vmci0.present'] = true                       # enable Virtual Machine Configuration Interface
        v.vmx['hpet0.present'] = true                       # enable High Precision Event Timer
        v.vmx['powerType.powerOff'] = 'soft'                # regular power settings
        v.vmx['powerType.powerOn'] = 'soft'                 # regular power settings
        v.vmx['powerType.suspend'] = 'soft'                 # regular power settings
        v.vmx['powerType.reset'] = 'soft'                   # regular power settings
        v.vmx['guestOS'] = 'ubuntu-64'                      # select 'ubuntu-64' as 'guostOS' in VMware
    	v.vmx['numvcpus'] = '2'                             # two processor cores reserved for vm
    	v.vmx['cpuid.coresPerSocket'] = '2'                 # one socket reserved for vm [1(socket)*2(CPU)=2(CPU)]
    	v.vmx['vcpu.hotadd'] = true                         # enable VMware Hot Add for CPU
    	v.vmx['memsize'] = '2048'                           # reserve 2GB RAM for vm
    	v.vmx['mem.hotadd'] = true                          # enable VMWare Hot Add for RAM
    	v.vmx['usb.present'] = true                         # enable USB controller
    	v.vmx['svga.graphicsMemoryKB'] = '262144'           # reserve 256MB for GPU
                end
                end
            end
        end
config.vm.provision "shell", inline: <<-SHELL
    apt-get update
    apt-get full-upgrade -y
    sudo useradd -m -s /bin/bash cpotrica
    reboot
  SHELL

    end
I’m creating 3 VMS with the names kmaster01, knode01, and knode02
with 2 interfaces one for NAT and the other in a network later used for the Kubernetes configuration. with the IP address: 192.168.0.235 to 237
each VM will have 2GB of RAM and two cores, below I have a small configuration to run:
apt-get update
apt-get full-upgrade -y
sudo useradd -m -s /bin/bash cpotrica
that will update the VMs and create a username for me.
Note that the default user for these boxes is :
Username: vagrant, Password: vagrant or user: root with password: vagrant
Now to create the VMs
vagrant up
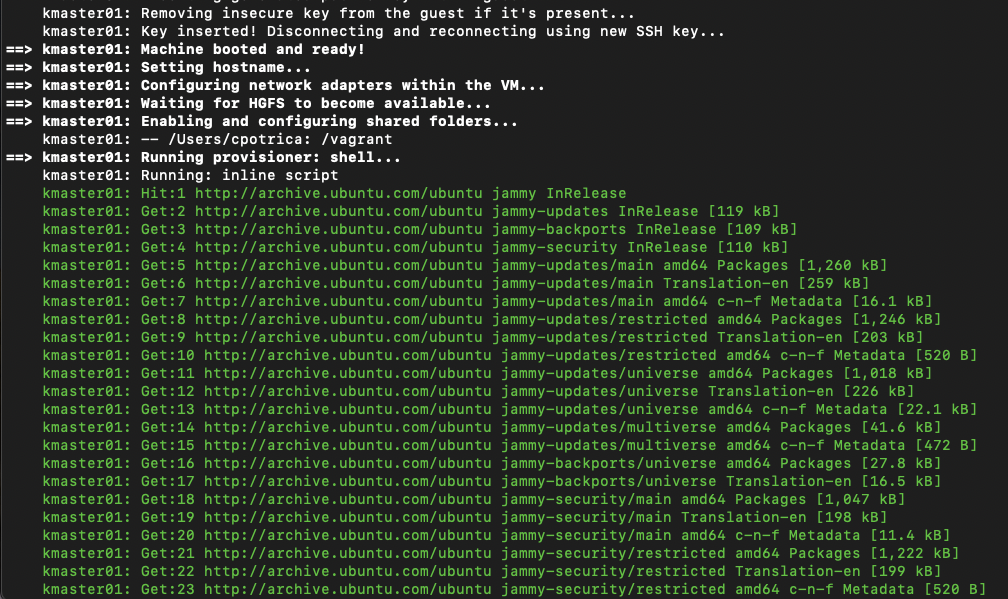
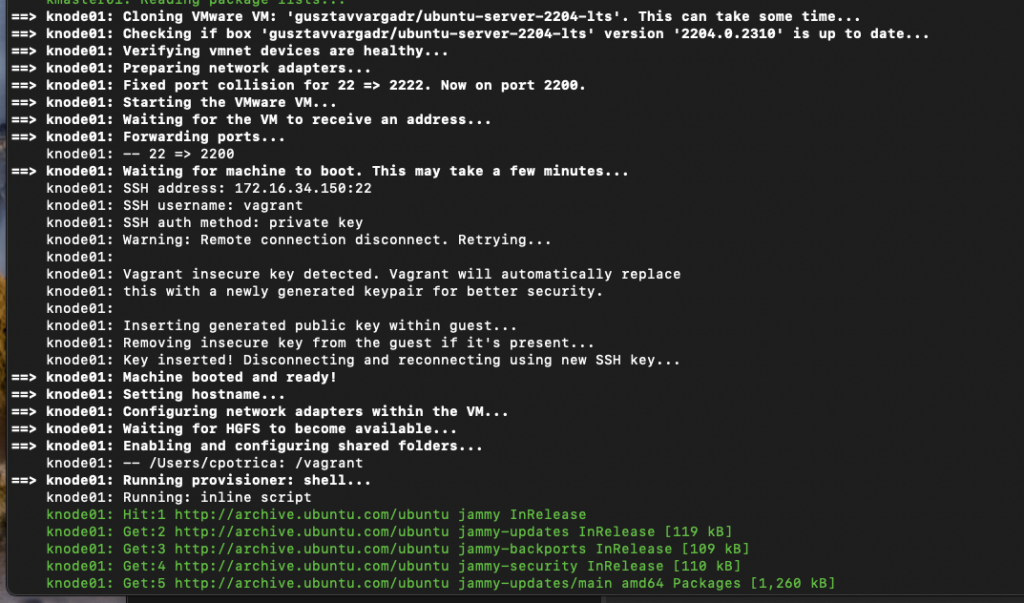
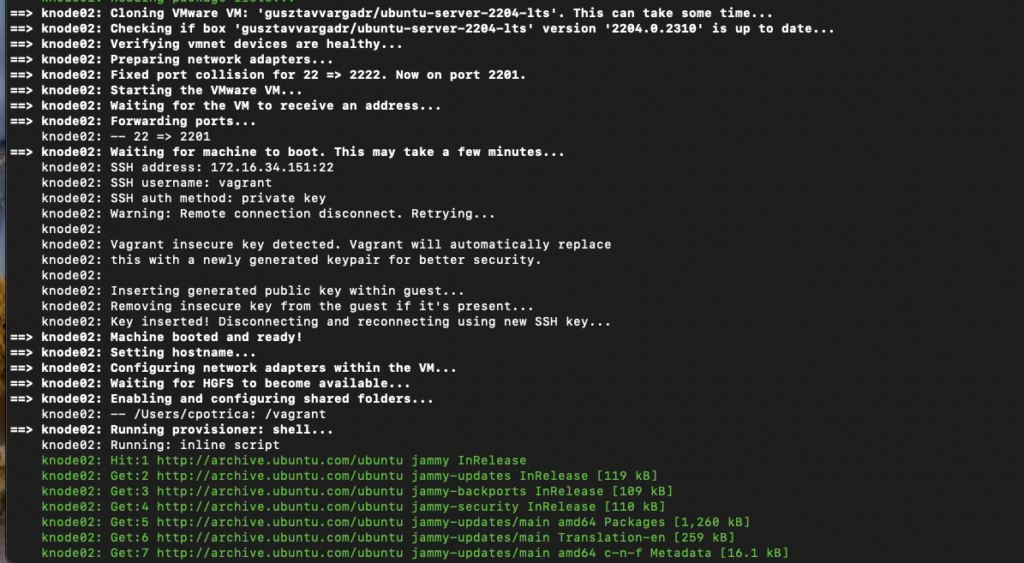
you will see the machines appear on VMware Fusion:

Now some simple and basic commands for vagrant
Check the status of the VMs
vagrant status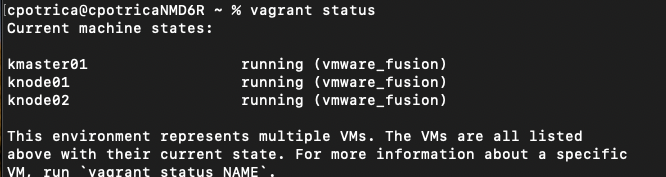
Connecting to a VM
vagrant ssh kmaster01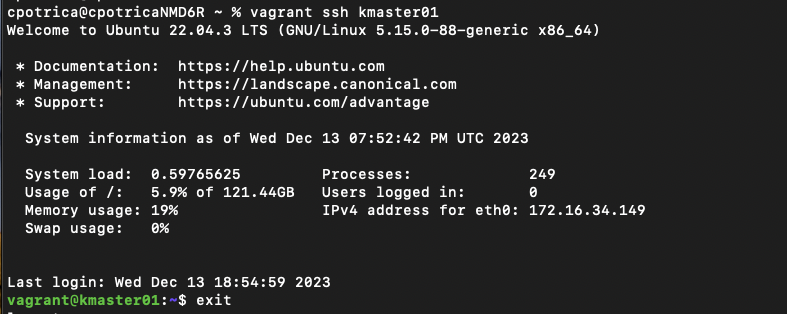
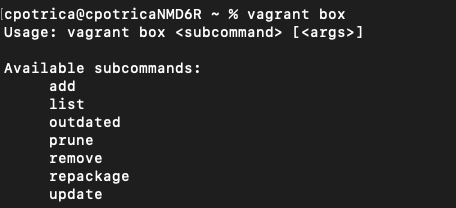
update the box image of a VM
vagrant box update kmaster01
list the images (Box) on the system
vagrant box listmore:
Now my tests are over and I want to delete all vms
vagrant destroy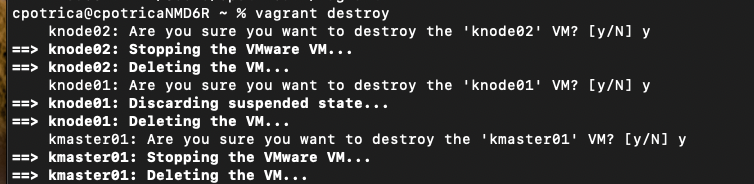
conclusion :
in less than 5 minutes I have 3 VM’s running with Linux on my fusion ready to go
I hope this was useful for you the example I used for fusion is usable also on Linux or Windows with VMware workstation.
Just check the Vagrant installation on those OS, it’s very simple and clean.
You can also create folders with different vagrant projects and deployments with different Vagrantfiles
HF !!